Sunday, May 29, 2011

Memorial Day Blog Hop

Hello and welcome to my blog! I hope you have had a fantastic time perusing each blog and gaining lots of crafty ideas from the great blogger line up. This is the last stop on the hop.

"Let every nation know, whether it wishes us well or ill, that we shall pay any price, bear any burden, meet any hardship, support any friend, oppose any foe to assure the survival and the success of liberty." - John F. Kennedy

Thank you to all the brave men and women that have fought and continue to fight to protect our country and freedom!

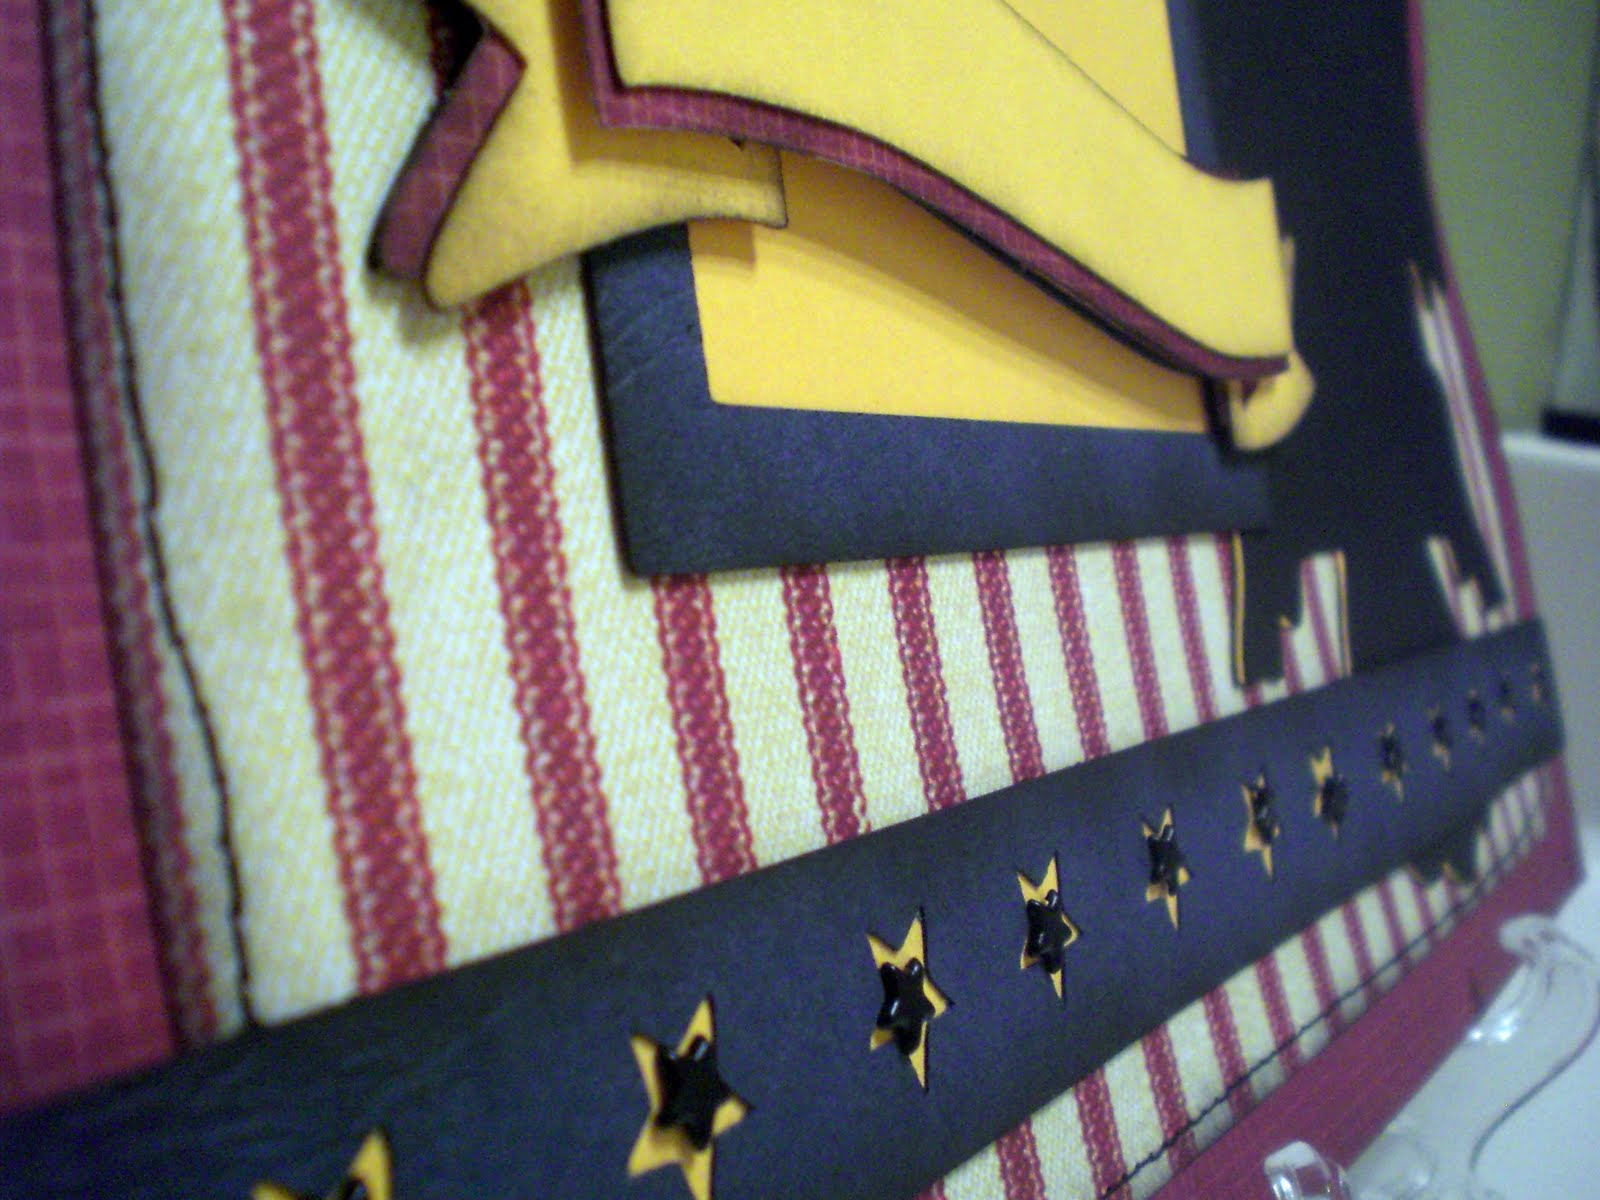
For today's blog hop I created a 12x12 scrapbook layout. All the shapes are cut from the cartridge "Stand and Salute".


Materials Used:


  • DCWV The Guy Stack 12x12 cardstock

  • DCWV designer series paper

  • Navy 12x12 cardstock

  • Black 12x12 cardstock

  • SU Summer Sun cardstock

  • Making Memories star brads

  • SU linen thread

  • SU Basic Black classic ink and sponge

Cuts:


  • Rounded square base - blackout pg. 33 @ 11.5 width

  • Honor phrase - base pg. 65 @ 9.5 width

  • Banner frame flipped upside down - pg. 41 @ 6.5 width

  • Star border (qty. 3 welded) - pg. 61 @ 2.99 width each, sized to 11.8 total

  • Eagle1 base - pg. 29 x2 (black and summer sun) @ 10.0

  • Banner3 - pg. 41 @ 6.31 (qty. 2 in summer sun and DCWV cardstock)

  • Banner3 - pg 41 @ 5.02 (qty. 2 in summer sun and DCWV cardstock)

I inked all my cuts with black ink before adhering, sewed the edges of the designer series paper with black thread and pop dotted the blue stars and scroll for added dimension.

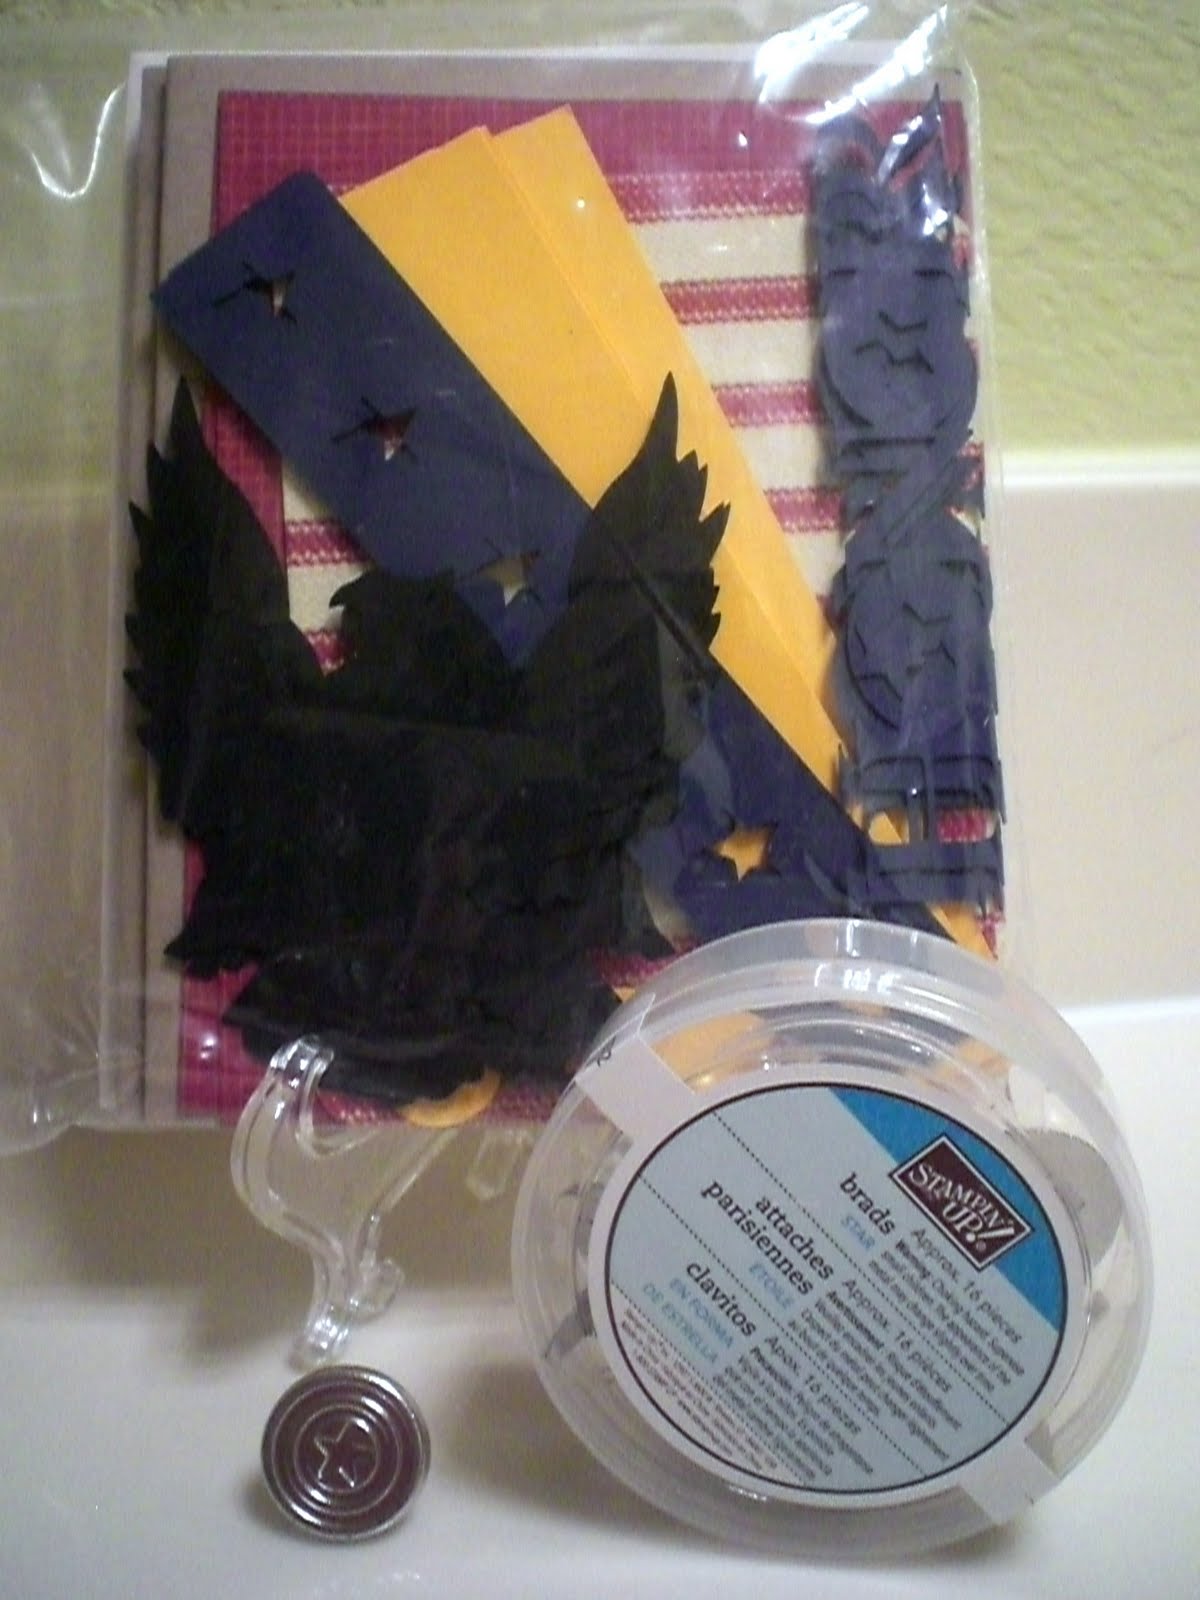
To thank you for visiting my blog, I am giving away a card kit inspired by my layout AND a Stampin Up Star Brad package to one lucky winner! Included in the card kit will be one example and everything you need to make four additional cards. All you need to do to qualify for the drawing is to leave a comment on this post telling me something about Memorial Day. It can be a fact about the holiday, something you do to celebrate, what the holiday means to you or anything else you would like to share! Please leave your comment by May 31 midnight. I will draw for a winner on June 1. It is not necessary for you to be a follower of my blog but I would absolutely love it if you decide to become one!


Here is a complete blog list for this Memorial Day Blog Hop:

1. Michele - http://greengirlscraps.blogspot.com/

2. Laura - http://lauras--piece--of--paradise.blogspot.com/

3. Kristen - http://fantabulouslypink.blogspot.com/

4. Rexann - http://ibecircled.blogspot.com

5. Jamie - www.myamusinglife.blogspot.com

6. Dana - Paper Memories (http://irwdanataft.blogspot.com/ )

7. Cindy - www.inlovewithpaper.blogspot.com

8. Brenda - http://happyscrapper64.blogspot.com/

9. Roberta - www.txscrappermom.blogspot.com

10. Renee - http://icameisawicreated.blogspot.com/ <------- You are HERE!


Thanks for stopping by and I hope you have a Happy Memorial Day!
--------------------------------------------------------------------------------------------------------

"C" is for Cookie

Hi Everyone! Today's post is a shape card I made from the cartridge Sesame Street Friends.


All cuts were designed on the gypsy at the following sizes:


  • cookie shape @ 5.11 w

  • cookie shape @ 5.11 w with the chocolate chips hidden using the hide/contour feature

  • cookie top layer @ 4.81 w

  • cookie monster shadow @ 2.02 w

  • cookie monster @ 1.91 w

  • sesame street sign @ 2.35 w

  • sesame street sign @2.14 w

Once all the cuts were made (SU cardstock in Close to Cocoa, Crumb Cake, Pacific Point, Basic Black and Whisper White), I used the cuttlebug folder "swiss dots" to emboss the crumb cake top layer of the cookie. I also sponged the edge of the cookie base in Early Espresso for added dimension. The brads are SU from the bold brights collection. The font I used is from the internet called "cookie".


Once all the cuts were layered and adhered, I simply used red tape to stick the layered top cookie to it's "hide/contoured" base on the left side.


You can make a shape card virtually out of any shape using your gypsy. If there is a blackout cut, you don't even need to use the hide/contour feature for the base of the card. You can also weld the two shapes together after flipping your base as a third option.


Have fun creating!

Tuesday, May 17, 2011

Cricut Circle Weekly Challenge #32: Sketch

Weekly Challenge #32: Sketch Challenge!
The Challenge: Use the provided sketch to create a project. Feel free to turn it on it’s side, simplify or combine a few of the elements together for a card or home decor project, etc. You are welcome to create anything as long as we can see that you used the sketch as your inspiration. Have fun!


As I have said MANY times before, I am WAY behind in my scrapbooking. So here is a blast from the past that I scrapbooked. It's of my daughter in Shakespeare's play "A Midsummer Night's Dream". I just received my Creative Memory cartridges (thank you Mona!) and had to put the cart Reminisce Accents to use right away! I cut the frame and used the font from this cart. I also used Wall Decor and More for the butterfly and mushroom and Tinkerbell for the fairy, cut as a filigree. The decorative papers are all from the DCWV "Once Upon a Time" stack.


Saturday, May 14, 2011

Pleated Pillow Card

As you may know, I like to complete extra projects from my scraps of my most recent project. I made this card for my mom utilizing the scraps from my Cricut Circle May Monthly Challenge.


The monogram is from the Nursery Rhymes cart and the flower from Mother's Day Bouquet. The paper and ribbon is Anna Griffin.

Friday, May 13, 2011

May 2011 Cricut Circle Monthly Challenge: Tic Tac Toe

MAY MONTHLY CHALLENGE: Tic Tac Toe Challenge!
Tic Tac Toe . . . Three X’s in a Row! That’s the goal in this challenge. Look at the tic tac toe board below and choose three squares in a row.
I chose to play the board down the middle utilizing a gypsy welded image, a paper created ruffle and a cuttlebug emboss folder.


To create the base of my project, I used an Anna Griffin Decorative Paper Pack that included instructions on how to make a "Pleated Pillow". I folded most of the directions and then tweaked it at the end to complete it as wall art for by baby, Kadence's room.


Supplies Needed to create the base:

  • An assortment of matching or complimenting decorative and/or matching papers (3 of the same decorative, 1 decorative, one mostly solid or solid decorative, 1 striped, one solid cardstock or sheet
  • One matching ribbon/trim (about 3 feet)
  • One 8 1/2 x 8 1/2 chipboard sheet
  • Craft knife, cutting board and ruler
  • Scoring tool
  • Double stick tape

Instructions:

Mark each of the 3 sheet design paper with a pencil every 5/8" and every 3/8" alternating across the page horizontally. Score along each mark vertically with your scoring tool. Like you are making a fan, fold the first score forward and the next score backward creating 1/4" pleats. Fold entire sheet and adhere pleats with double stick tape. Cut the pleated page horizontally into 6, 2" strips. Affix pleated strips to outside edge of the solid sheet of paper/cardstock. Let pleats overlap in the corners of the page. Miter the corners with a craft knife.

Mark the single decorative sheet every 3/8" and every 1" alternating across the page horizontally. Score along each mark with a scoring tool vertically. This time fold the first score forward and then the next score back toward itself, skipping the 1" in between, making a box pleat. Adhere pleats with double stick tape. Cut the decorative sheet into 1" strips. Affix pleated strips, allowing 1" of the first set of pleats to show on the outer edge. Miter the corners.


Cut and cover and 8 1/2" x 8 1/2"" piece of chipboard with the mostly solid decorative sheet. Affix the ribbon to the back of the covered board, allowing 1/8: of the ribbon to show as a border.

Center and mount your selected design and/or photo to covered chipboard square.

From your striped paper, cut 4, 1/4" strips. Affix strips to form a square around the design and/or photo on the chipboard. Mitre each corner.

Mount the chipboard center to the center of the pleated page. This will leave 5/8" of box pleats bordering the center.

Tie the remaing ribbon pieces into soft knots, and trim. Affix to the ribbon-trimmed corners of the chipboard square.


Cricut Circle Members are the best!

I can't explain how neat it is to belong to the Cricut Circle message board! The members are all so nice, respectful, and genuinely caring. Post after post, we share great ideas, enable each other to spend money (ugh), and support each other through the good and the bad. We truly are an online (and sometimes off) family. Not only did I receive countless congratulations and well wishes upon the birth of my daughter, but I also received some very generous and lovely RAKS.

This card was made for and given to me at the Texas Stampede by Linda P. , Tina G. (shutterbuggin), Veira M. (sorry, not sure if I spelt your name right), and Kim D. Isn't it cute?


These are a set of handmade or boutique (I didn't get a chance to ask you) burp cloths given to me by Leslie Hankley. Some are pale yellow and some this gorgeous print (how did you know I love paisley?). They are so soft, pretty, and unique. I love them (and Kadence does too)! =)


And did you see her calling card? Gorgeous! Sewn lace, beads and a multi-layered nest.

And last, but certainly not least, I received ALL of this from LovintheBug!

4 outfits, a clear baby girl stamp set, a chipboard album and paper, a Cuttlebug cutting die, a vellum baby girl quote pack, a Sizzex stencil, a Fiskars corner rounder AND a new in package Twinkle Toes cartridge. I KNOW!


Thank you ladies for thinking of me and my little one. We are grateful for your generosity!

My Craft Space


I know...it's a mess. It's just too hard to keep it clean!


My space is made up of this corner, a walk-in-closet, and most of the time...my husband's pool table. =)


Wednesday, May 11, 2011

chelemom.blogspot.com Blog Candy!

Michele Kovack, an awesome Provo Craft designer, has a great blog candy giveaway. Be sure to visit her blog for a chance to win Enjoy the Seasons Imagine cart or Everyday Pop-up Cards:

http://chelemom.blogspot.com/

Monday, May 9, 2011

National Scrapbook Day Celebration

National Scrapbook Day Celebration

My Pink Stamper is hosting an all day scrapping event to win an Imagine along with 12 other great prizes:

Challenge #11--Make a project and use Pink, Green and Black in it!

My Pink Stamper Challenge #10--Make a layout or card with a pet in it!

Challenge #9--Use Glitz, Glam and Glitter in your project!

Challenge #8--Make a summer themed project!

Challenge #7--Make a Scrapbook Page!

Challenge #5- Any 3-D item OR if that is too much of a challenge then add a 3-D item on your scrapbook page or card!

Challenge #4: Make something with a Mother's Day Theme!

Challenge #3--Make a card, scrapbook page, or 3-D item with a breast cancer theme. You can use a ribbon, make it pink, whatever you'd like.

Challenge #2--Make a card or scrapbook page using Kraft cardstock.

Challenge #1 - Anything Cupcake!!!
Scrapbook Page, Card, Mixed Media, or other! You do not have to make cupcakes!!

You can see the contest guidelines, rules, and entries by visiting her site:

http://www.mypinkstamper.com/

Saturday, May 7, 2011

Cricut Circle Weekly Challenge #31: Gift Card

Weekly Challenge #31: Gift Card Challenge!
The Challenge: With Teacher Appreciation, Graduation, Baby Showers, Weddings, and other special events that are sure to be gracing your calendar over the next few months, we thought it might be fun to have a challenge to see your creative Gift Card and Money Holder ideas. Using your Cricut create a gift card or money holder.


I created a tri-fold card by welding a liner from the Wild Card cartridge and adjusting the sides with the Gypsy. I then flood filled and cut the liner in smaller sizes for the cards lining with the coins from the Imagine cart - Snapshot: Everyday. Lastly, I cut the "Ooooh!" phrase, soldiers and Hamm from the Toy Story cart. Originally, I planned on putting the three aliens cut underneath the "Ooooh!" to match the phrase, but the parts were too tiny to put together and remain sane, so I put the soldiers instead. I then cut an extra shadow of Hamm and glued it to the back of him and cut out the money slot with an exacto knife to make room and a pocket for the money.


By the way, it is so much easier to put in one white sheet of paper and just flood fill the parts of the Disney characters with the Imagine. Just another reason to buy it!